Summer is almost here! You know what that means: warm weather, cutting grass, hiking, camping, kayaking, BBQ, and swimming! And with all of those outdoor activities comes the prep-work to ensure everything goes smoothly. For example, you need to learn to swim before swimming, and you need to put gas in the mower before mowing. But did you know that your air conditioning unit is no different?
Here are seven easy and useful steps to take before turning on your air conditioning unit to ensure it runs smoothly this summer.
Step 1: Take Off Your Air Conditioner Cover
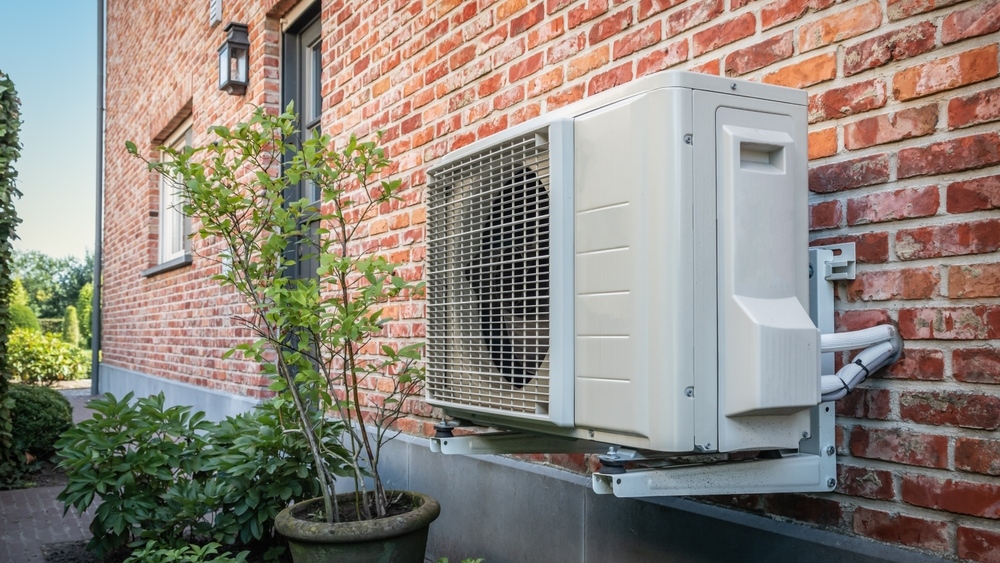
This seems to be a no-brainer. However, you would be surprised by the number of calls we get reporting that the customer’s air conditioner isn’t running, only to find out that it was due to them not removing the air conditioner’s cover. This is an essential step because if you run your unit with the cover still on, you could short cycle your unit and cause it not to turn on, thus, costing you a pricy repair visit.
Step 2: Examine Your Disconnect
When examining your disconnect, it should read in the ‘ON’ position. If it is in the ‘OFF’ position, you need to switch it on. Your disconnect switch (isolator) should be near your air conditioning unit.
Step 3: Hose Down Your Condensing Coil
Hosing down your condenser unit helps remove leaves, debris, and other potential items that may clog your system. Not hosing it down and cleaning the condenser coil can impact your air conditioner’s performance. This is because the heat will get trapped inside and can’t be effectively released when it’s covered with dirt and debris. When heat can’t be effectively released, more strain will cause inefficient cooling, increased energy consumption, and a decrease in the unit’s life expectancy.
Step 4: Change Your Air Filter
If you turned your furnace on during the cold season and didn’t change your filter, you will want to do so. Ensuring that your filter is in good shape helps reduce and, in some cases, eliminate dust and bacteria. It also ensures that your unit runs as intended, maintaining efficiency and that it won’t shut down due to clogs. If your filter looks worse for wear, be sure to change it.
Depending on your situation, your air filter could be located in the ceiling, on the lower part of a wall, or next to your furnace.
Step 5: Adjust Your Humidifier for Summer
Be sure to set your humidifier from winter to summer mode. This is an important step. By switching your humidifier into the summer position, you avoid causing poor airflow conditions, which if not avoided, would then result in cool air being forced back over your cooling coils causing the system to freeze up.
Step 6: Set up Your Yearly Maintenance
Maintenance plans are a great way to ensure that you don’t void your manufacturer’s warranty. They also ensure that your system maintains its efficiency, longevity, and safety. Maintenance plans are strongly encouraged and are more valuable than ever. In some cases, the company that you choose may even offer a free one-year warranty at the time of installation.
If you don’t have a maintenance plan or looking for a new one, check out our Randazzo Air Care Home Comfort Maintenance plan here or give us a call at 586-336-1111.


